.
.
Nebula by Yella Umbrella.
Help Home Page
-
Registering in Nebula
-
Add a Device
-
Add a Library
-
Set up a new Project
-
Add a Process to a Project
-
Add a new User
-
Edit a User
-
Dashboard
-
Accounts
-
Payment Models
-
Using the Shop
-
Stellar Help Pages
-
Troubleshooting and FAQ
Registering in Nebula
Before you can use Nebula you must register. There are three options:
- Register a new company
- Register as an individual (freelancer or student)
- Request registration as an employee of a company
Register a new Company
Go to nebula.yella.tv and click on the Register link and select the Company tab
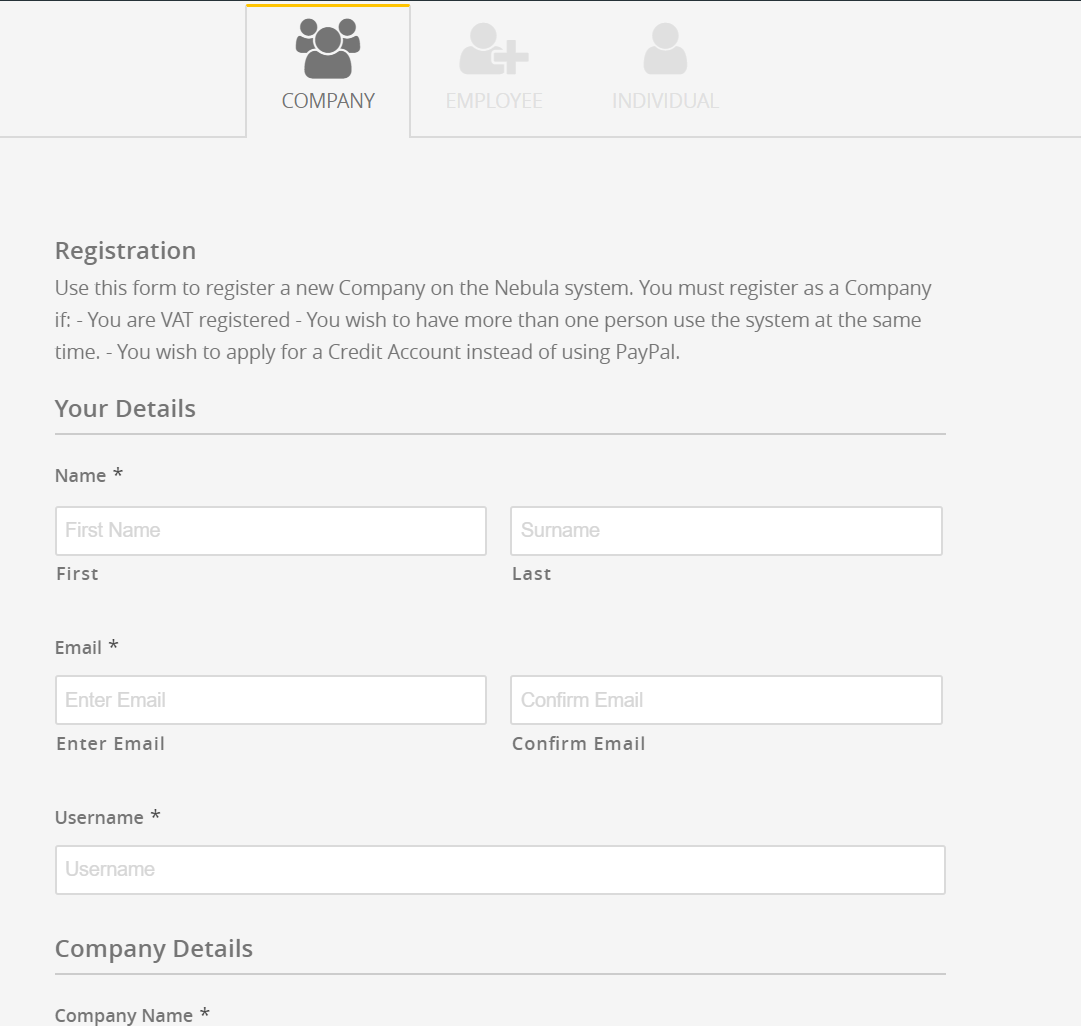
Fill out the details
The email and username must be unique withing the Nebula system.
Click on Submit
You will receive emails first to validate your email address and then to provide you initial password.
Register as an individual
Watch the Video Registering as an Individual in Nebula
Go to nebula.yella.tv and click on the Register link and select the Individual tab

Fill out the details
The email and username must be unique withing the Nebula system.
Click on Submit
You will receive emails first to validate your email address and then to provide you initial password and a separate Device download link
Register as an employee
Go to nebula.yella.tv and click on the Register link and select the Employee tab
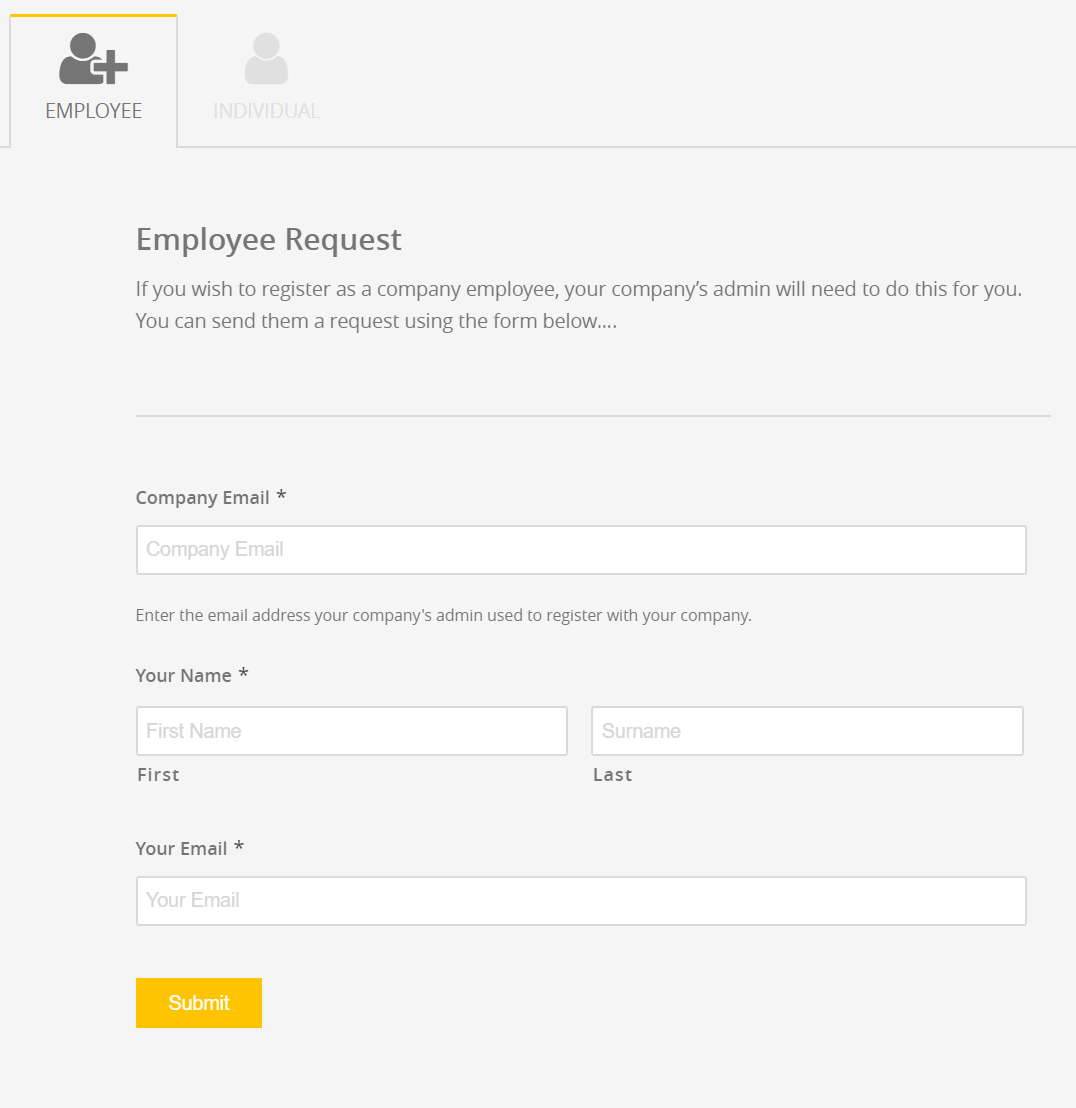
You need to know the email address of your company’s Nebula administrator
Add your details and the administrator’s email address and press Submit.
You administrator will receive an email requesting you be added as a User on Nebula. When they add you then you will receive a confirmation email, username and initial password by email.
Adding a Device
A Nebula Device is what runs Nebula processes wherever you need them to run. When you run a Process in Nebula in a Project the required tools to do the process are loaded onto the Device, they then performs the processing requested, and then leave once the Process terminates. Some Processes run continually others just once.
You need to download a Device Type suitable for the platform you will run the Device on, and with the feature you require (recommend ‘Windows Render’ for most subtitling related tasks).
On Windows, a Nebula Device is an executable requiring no installation.
On Linux, a Nebula device is a Linux executable. Download a relevant Linux version, transfer it to your Linux machine, and simply run the executable. The executable can be added as a linux service for longer term running.
Technical info:
Every Nebula Device executable is uniquely keyed to your user/company, so don’t run the SAME executable in two locations at once. (You can create as many Devices as required if you have multiple locations or multiple users). The Nebula device opens at least one HTTP port on a random port number (Unless the device is configured for a fixed port number), and it’s status page is available from the Yella Icon. Depending upon the processes run on the device, the Device may open additional ports – for example if the Process is specifically designed to do so, e.g. in the case of providing an API to an external system (this will be clear in any Process description).
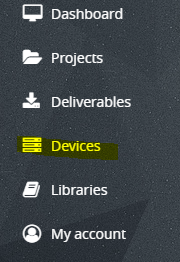
1. Go to Devices page
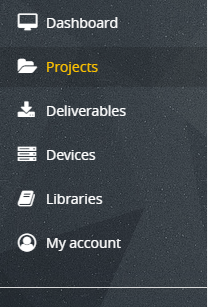
On the menu on the left hand side, select ‘Devices’:
If you have not created a device, and nobody has pre-created one for you, create a device by clicking ‘New Device’.
2. Add a Device
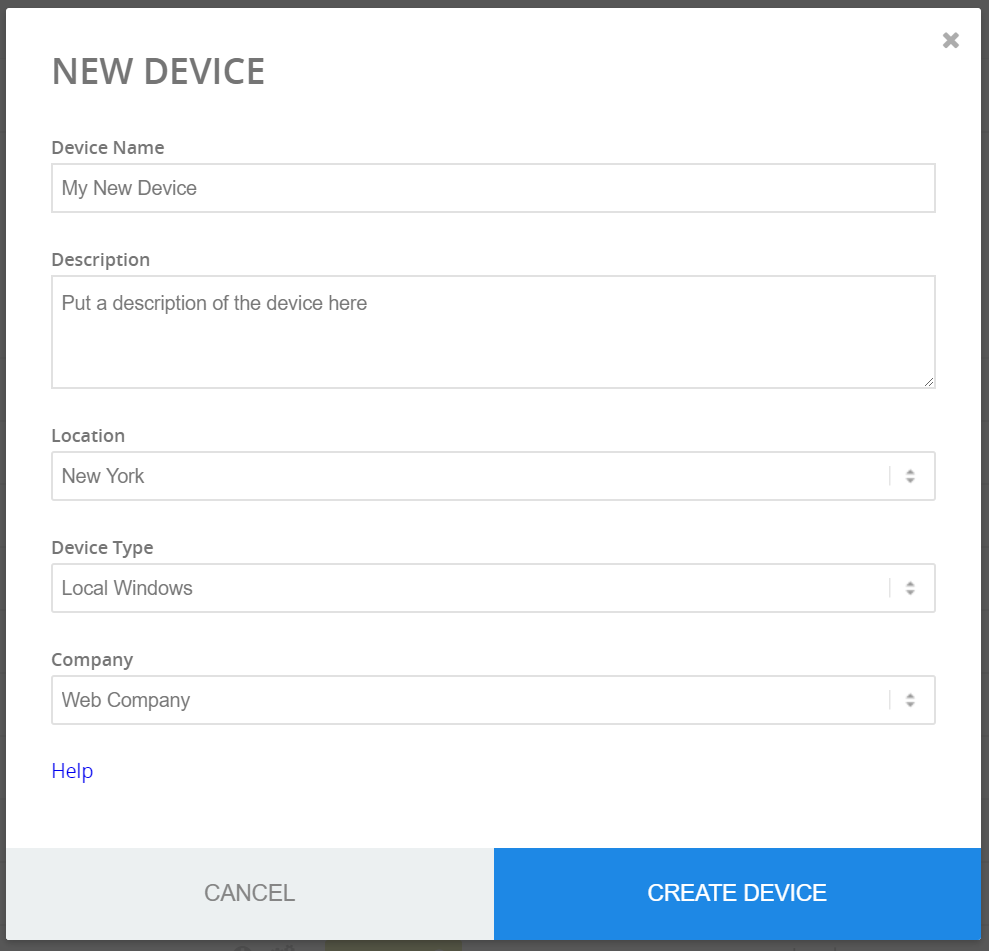
Fill out the device configuration form. A device type of ‘Local Windows’ is normally sufficient for most users.
Select any location – this is used to help track large numbers of Devices.
Once you have created a device, or someone else has created a device, you should download it by clicking on the ‘Cloud’ icon. If in a company environment, make sure the device is unique to you.

3. Downloading a Device
This will download a simple executable (not this exact file name but something similar):
![]()
4. Starting a Device on your PC
Run the executable. The first time you run it, Windows may challenge you about the authenticity:
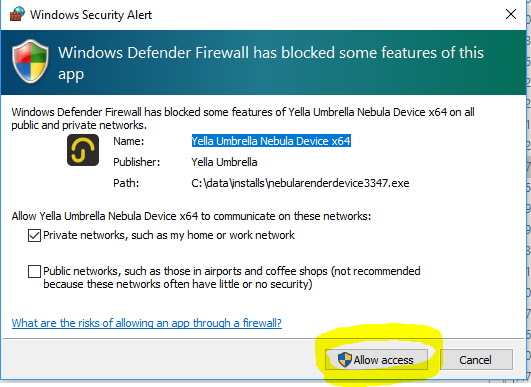
Click on ‘Allow Access’.
(You only need to do this process the first time you run a new Device .exe)
Once the Nebula Device is running, in a windows environment it will appear as an icon in the task-bar icons area.
To find it, click on the ‘more icons’ button:

and then on the YellaUmbrella logo:

Click on the umbrella icon to open the Device Control page in a browser tab:
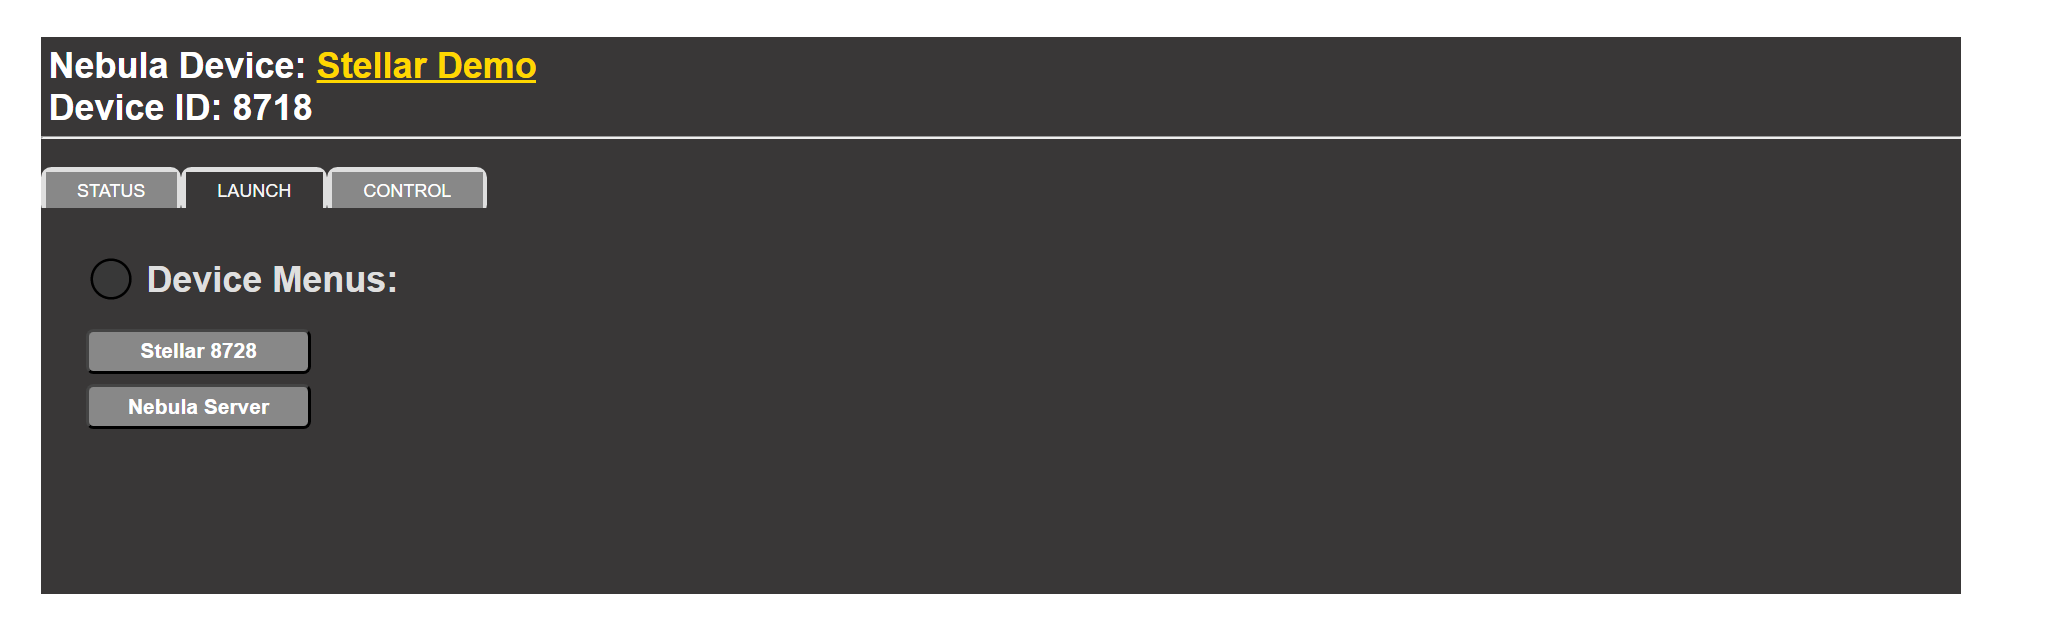
By default the Launch tab is selected showing all options that can be run from this Device:
Click on the Status Tab to see what Processes are running on this device
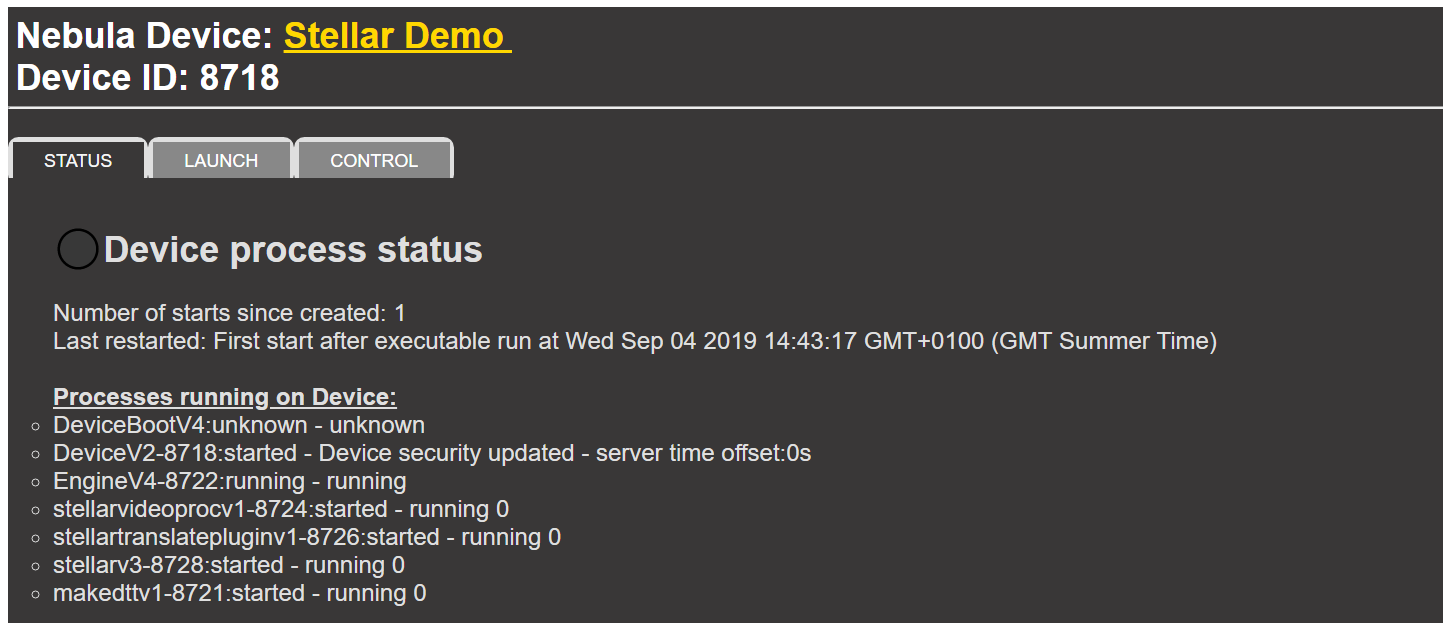
Other options listed will depend on what local Processes are running on the Device.
Whenever you want to use a Nebula Process, the Nebula Device must be running. You may leave it running all the time if you want.
Click on the Control tab to Close or Restart the Device
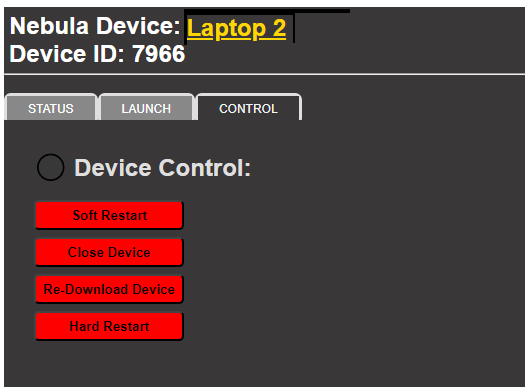
- Soft Restart – Restart all the Processes on the Device without restarting the Device itself. A good option to try if Stellar or functions within Stellar don’t seem to be working
- Close Device – Stops the Device and all Processes running on it. You will have to re-run the Device from within Windows or Mac if you want to start it up again.
- Re-Download – Get a new copy of the Device from the Nebula Server – Only required if your Device gets corrupted, lost or there’s a major upgrade.
- Hard Restart – Restart the Device and all the Processes on it. – Try this if a Soft Restart doesn’t get Stellar running.
Warning: All of these will stop all Processes on the Device and data may be lost.
In most cases re-starting the Device will automatically restart all processes on it.
Editing a Device
Once a Device has been created you can Edit the configuration.
Go to the Devices Page and click on the Edit Device button next to the Device you want to edit.

This will open the Configure Device dialog.
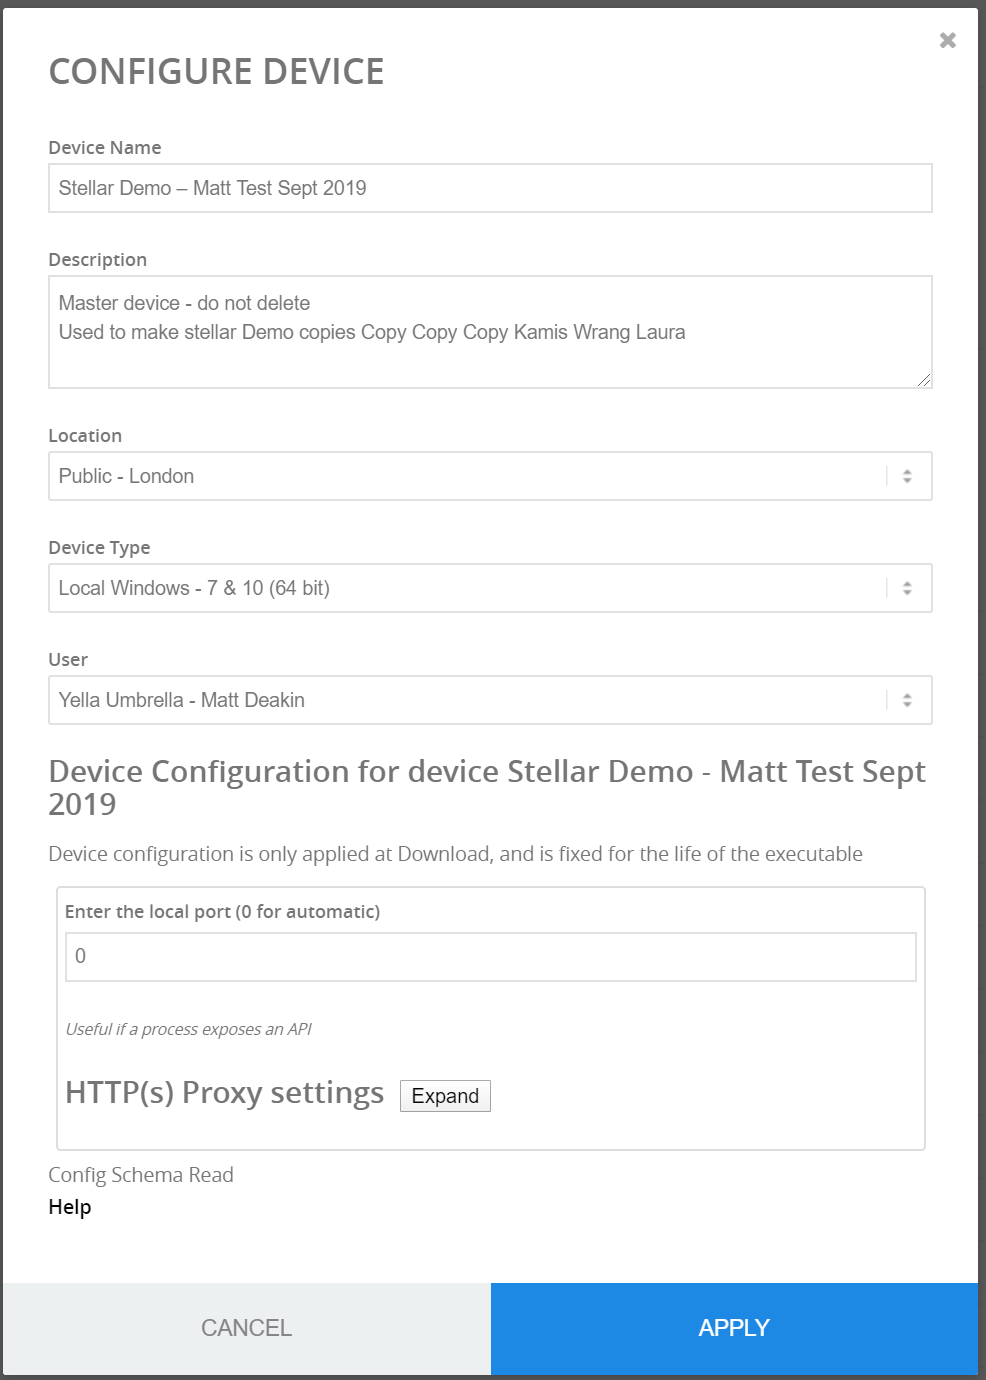
Device Name – the displayed name for this Device – Changing the name will not impact the operation of the Device
Description – Optional description for your use – Changing the description will not impact the operation of the Device
Location – An optional location for the Device to help you manage your Devices – Changing the Location will not impact the operation of the Device
Device Type – This sets the operating system type the Device will run on. – IMPORTANT – If you change the Device Type then you will need to download and run a new copy of the Device.
User – You can reassign the Device to a different User in your Company – Changing the assigned user may have implications for operations depending on the new User’s access rights.
Local Port Number – default to 0 for dynamic port number allocation. If you need to fix the port number for a device then enter the port number here. IMPORTANT – If you change the Port Number then you will need to download and run a new copy of the Device.
HTTP Proxy Settings – advanced settings, only required if you Company has implemented specific types of Application Firewall. Contact our Support team for further details.
Adding a Library
A Library sets the root path for accessing all media and other files associated with a Project. This allows control over who can access certain media files.
A Library can be a local drive, a local server or a remote location.
You must have at least one Library created before you can create a Project.
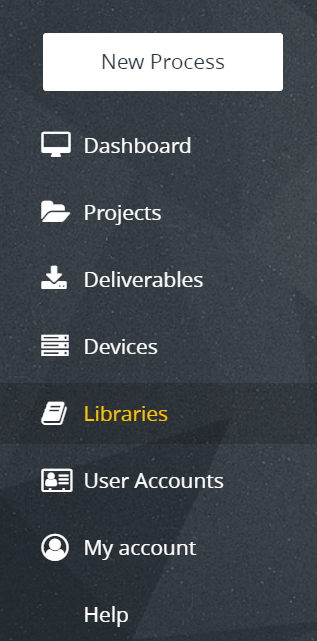
Click on Libraries on the left hand menu, and create one using Add Library.
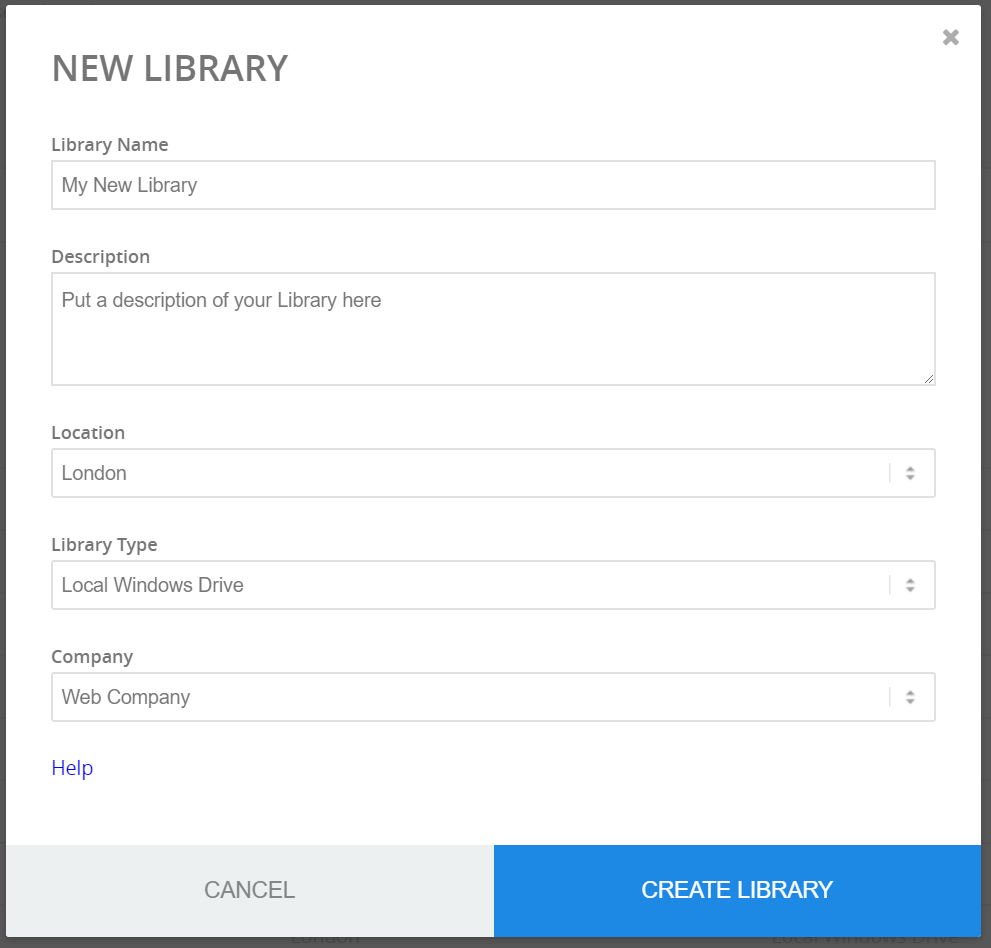
Select a Library Type of ‘Local Windows Drive’.
Select a Location – this is used to manage a large number of Libraries
Setting up a new Project
A Project is a collection of Processes with their specific configurations, it also controls on which Device the Processes run, who they are owned by and what charging model is used.
Before setting up a Project, you must have both a Device and a Library.
Click on the Projects entry on the left hand menu.
Click on ‘New Project, and fill out the form.
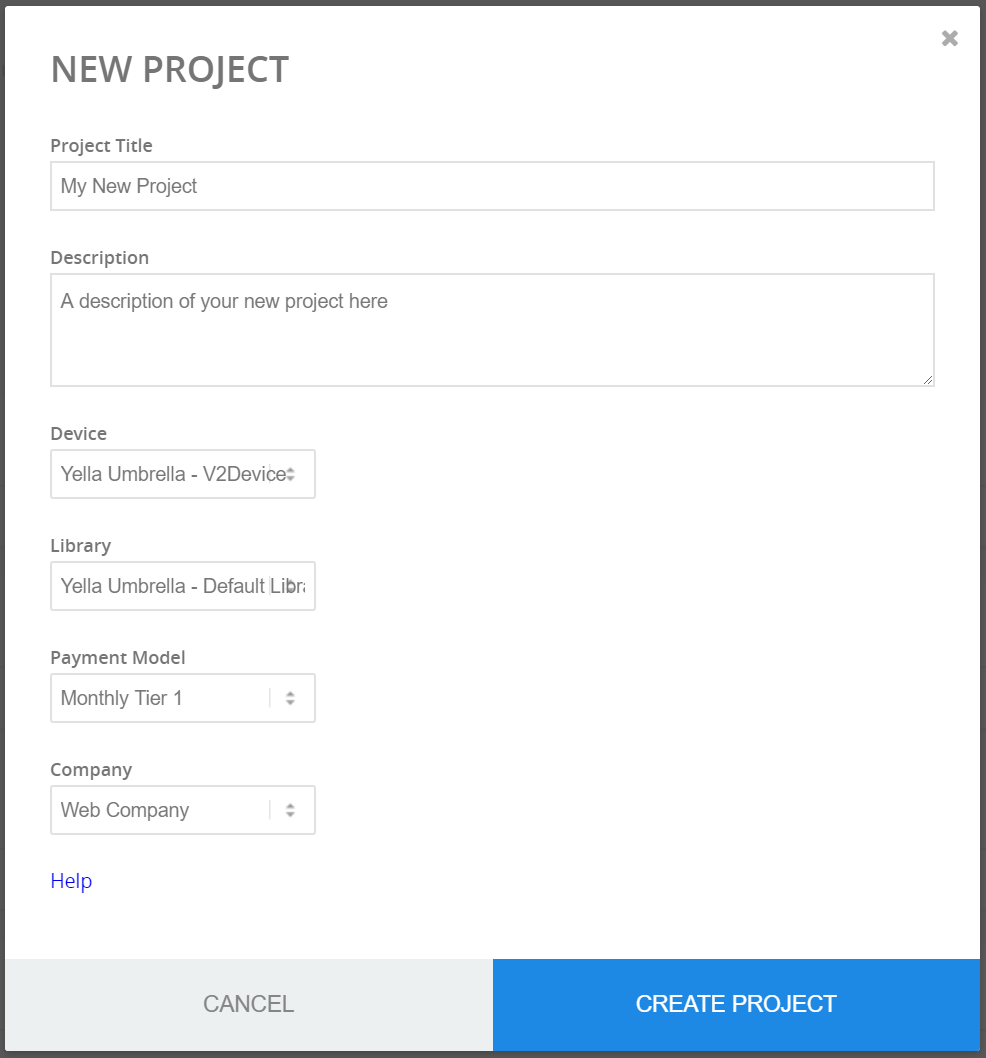
The new project dialogue create a new Project in your Nebula account. In order to create a Project, you must first create a Nebula Device and a Nebula Library, as a Project requires a Default Device and a Default Library.
Project Title – this is what your Project will be displayed as
Description – This will appear when you expand the Project
Default Device – Processes you add to the new Project will run on this Nebula Device.
Default Library – Processes you add to the new Project will reference this Nebula Library unless otherwise configured.
Payment Method – Select your preferred payment method from:
- Paygo (pay per use)
- Monthly Tier 1 (pre or post-pay for a maximum number of uses per month)
- Monthly Tier 2 (pre or post-pay for a maximum number of uses per month, with enhanced support).
Note that some processes will only run in Monthly mode, and some may only run in PayGo mode, see the Process descriptions for more details.
Add a Process to a Project
1. Add a Process
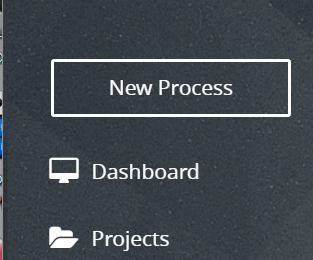
On your new Project, click the ‘+’ button on the right.

This opens the Add Process dialogue
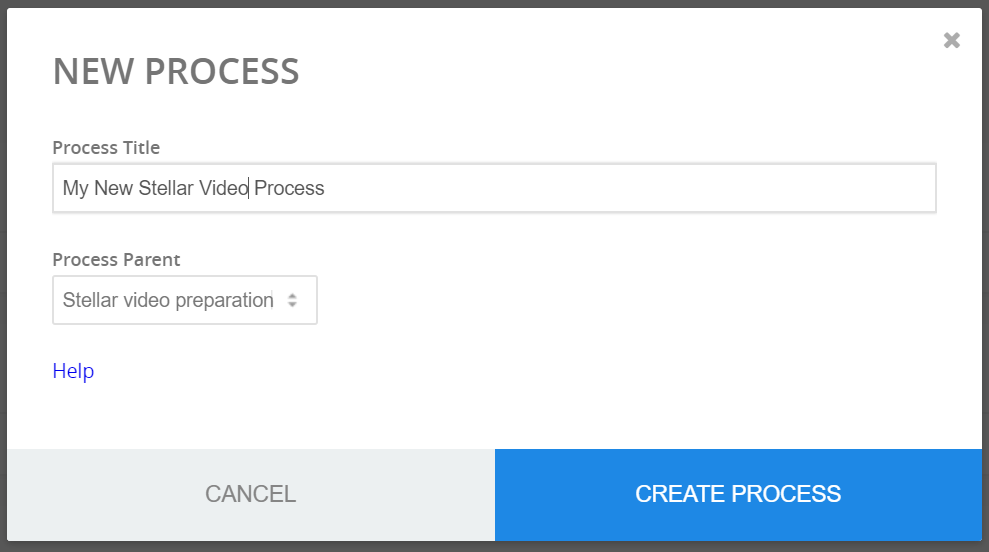
Give the new Process a title, and select the Process type you wish to add
Note: you can also use ‘New Process’ on the left hand menu to add Processes to a Project; here you will find more descriptions of the Process types
2. Display the Process in the Project
Expand the processes in your Project by clicking on button which pops up ‘Toggle Project Processes’:

This will open and show the Process you added.
Next, you need to configure the Process.
3. Configure the Process
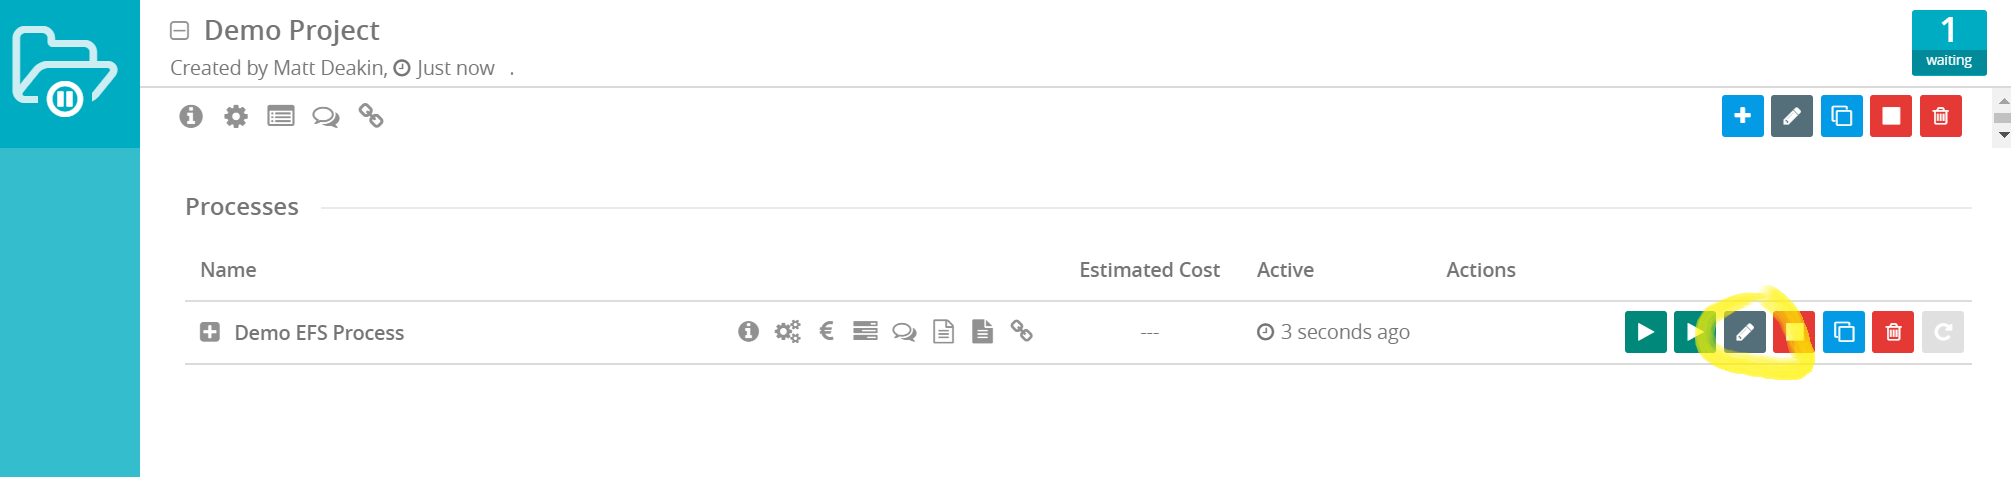
Click on the Pencil symbol on the right hand side of the Process line. Enter the configurations for the new Process, and save them.
The configuration will be specific to the type of Process you have added.
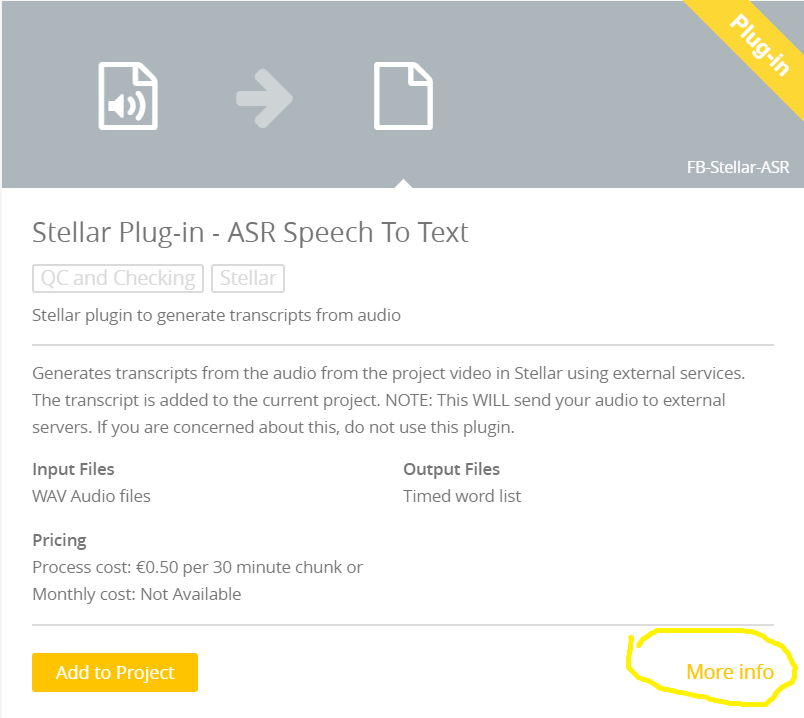
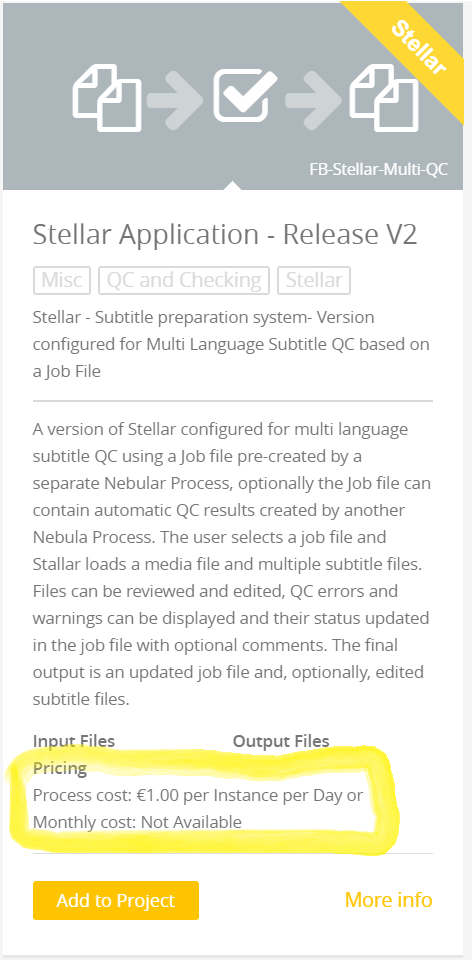
For full information on the Process and all it’s configuration settings either:
Find the Process you want information about and click on More Info.
Or:
Open the Info section on the Process by clicking in the i button
![]()
And then on the Process Type link
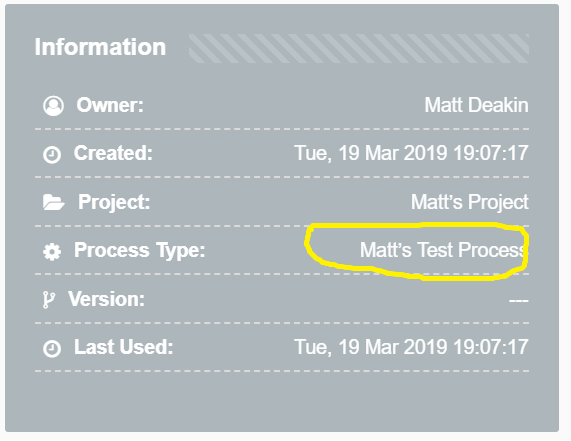
To open the Process information page showing all the settings for the selected Process instance and a link to the Process information page.
4. Running the Process’
Once you have configured the process you need to Run it before it will do anything,
Click on the Run button

Depending on the Process the status will change to Running or Delivered.
Simple information about the Deliverable can be seen by hovering over the ‘i’ icon:
![]()
More detailed information can be found in the logs by clicking on the Logs icon.

Add a New User
To add a new User you must have Company Admin level privileges.
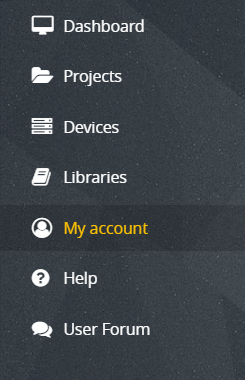
- Go to My Account on the left hand menu
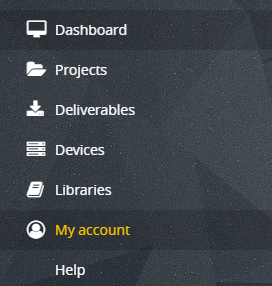
- Select the Users Tab
-
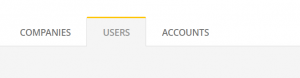
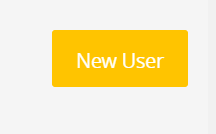
- Click on the New User button to display the New User dialogue
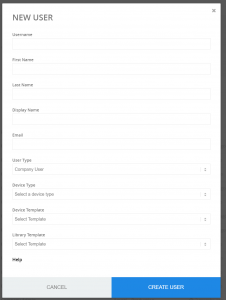
- The User Name should be unique within your Company and have no spaces. Once created a user name can’t be changed.
- Add the user’s First name, last name and Display Name and email address. The email address must be unique within the Nebula system.
- The User type will default to Company User but can be changed to any of the available options.
- Select the Device Type, normally Windows or Mac. This is IMPORTANT as the Device will only run if the correct operating system is selected.
- Optionally you can select a Device Template for this user.
- Select one of the available options.
- These will consist of System Templates available to all companies and Company Templates unique to your Company
- Selecting a Template will create a Device with one or Projects and Process loaded and configured.
- This is the quickest way to create new Users and Devices with a standard setup.
- Select one of the available options.
- Select a Library Template – the is only one Default Library Template at the moment.
- Click Create User
- Once you add a new user they will receive a confirmation email with a link to confirm their email address
- Once they have clicked to confirm the email address is correct they will receive a second email with their user name and password.
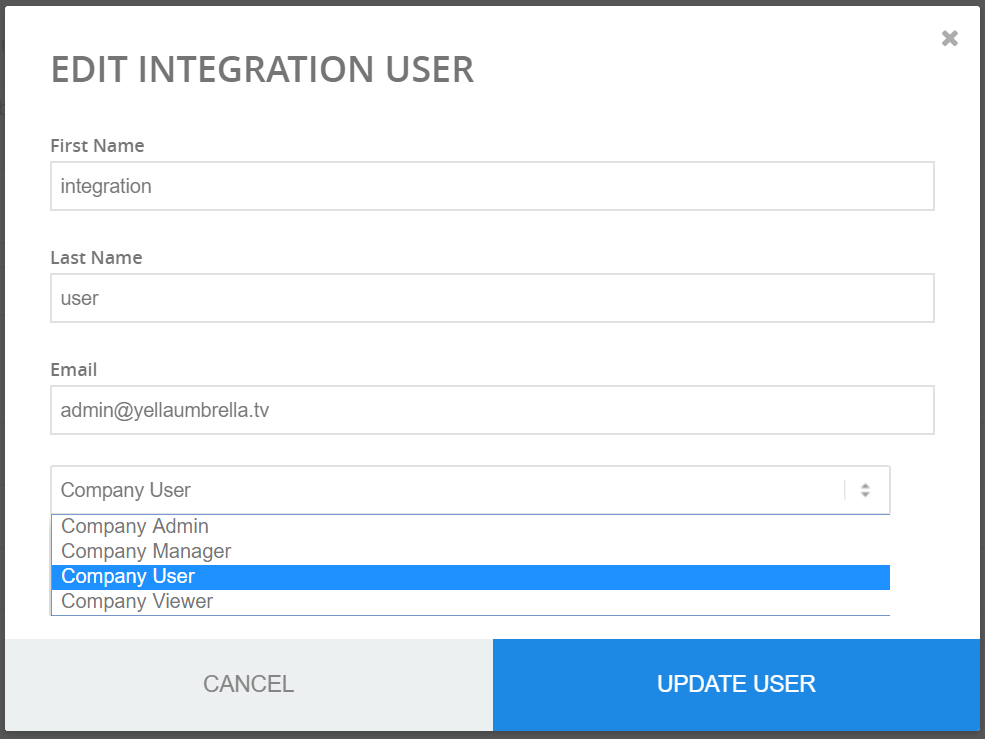
Edit a User
On the Users tab of the My Account page
Click on the pencil Icon for the user you want to edit
![]()
You can edit the user’s first and last names, their email address and their access privileges but not their Username.
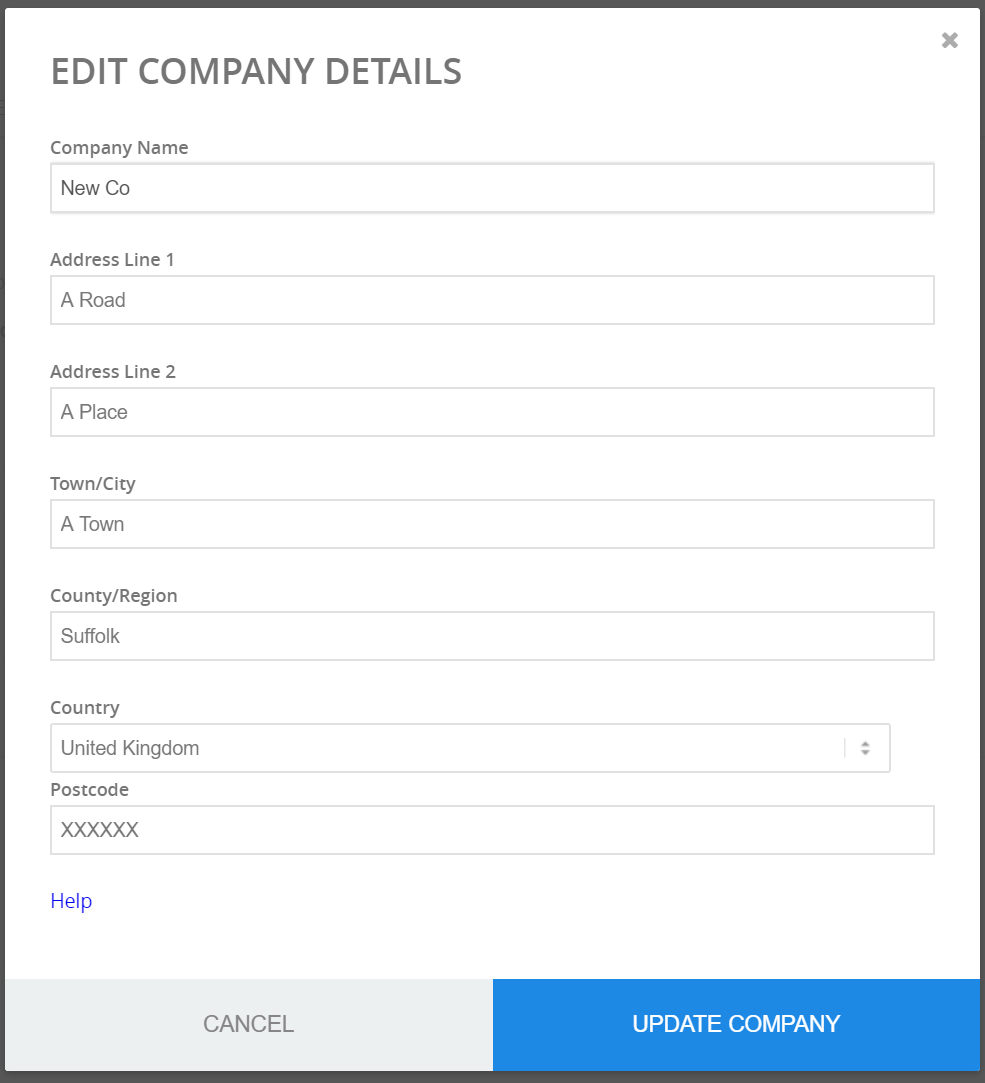
Edit Company
This dialogue allows editing of company information, including address.
Note that on creation, the address entered at signup will have been copied into the Account information, so edits of address here will NOT be reflected in the Account information.
Dashboard
The Dashboard gives an overview of current Devices, Libraries, Project and Processes as well as status messages.
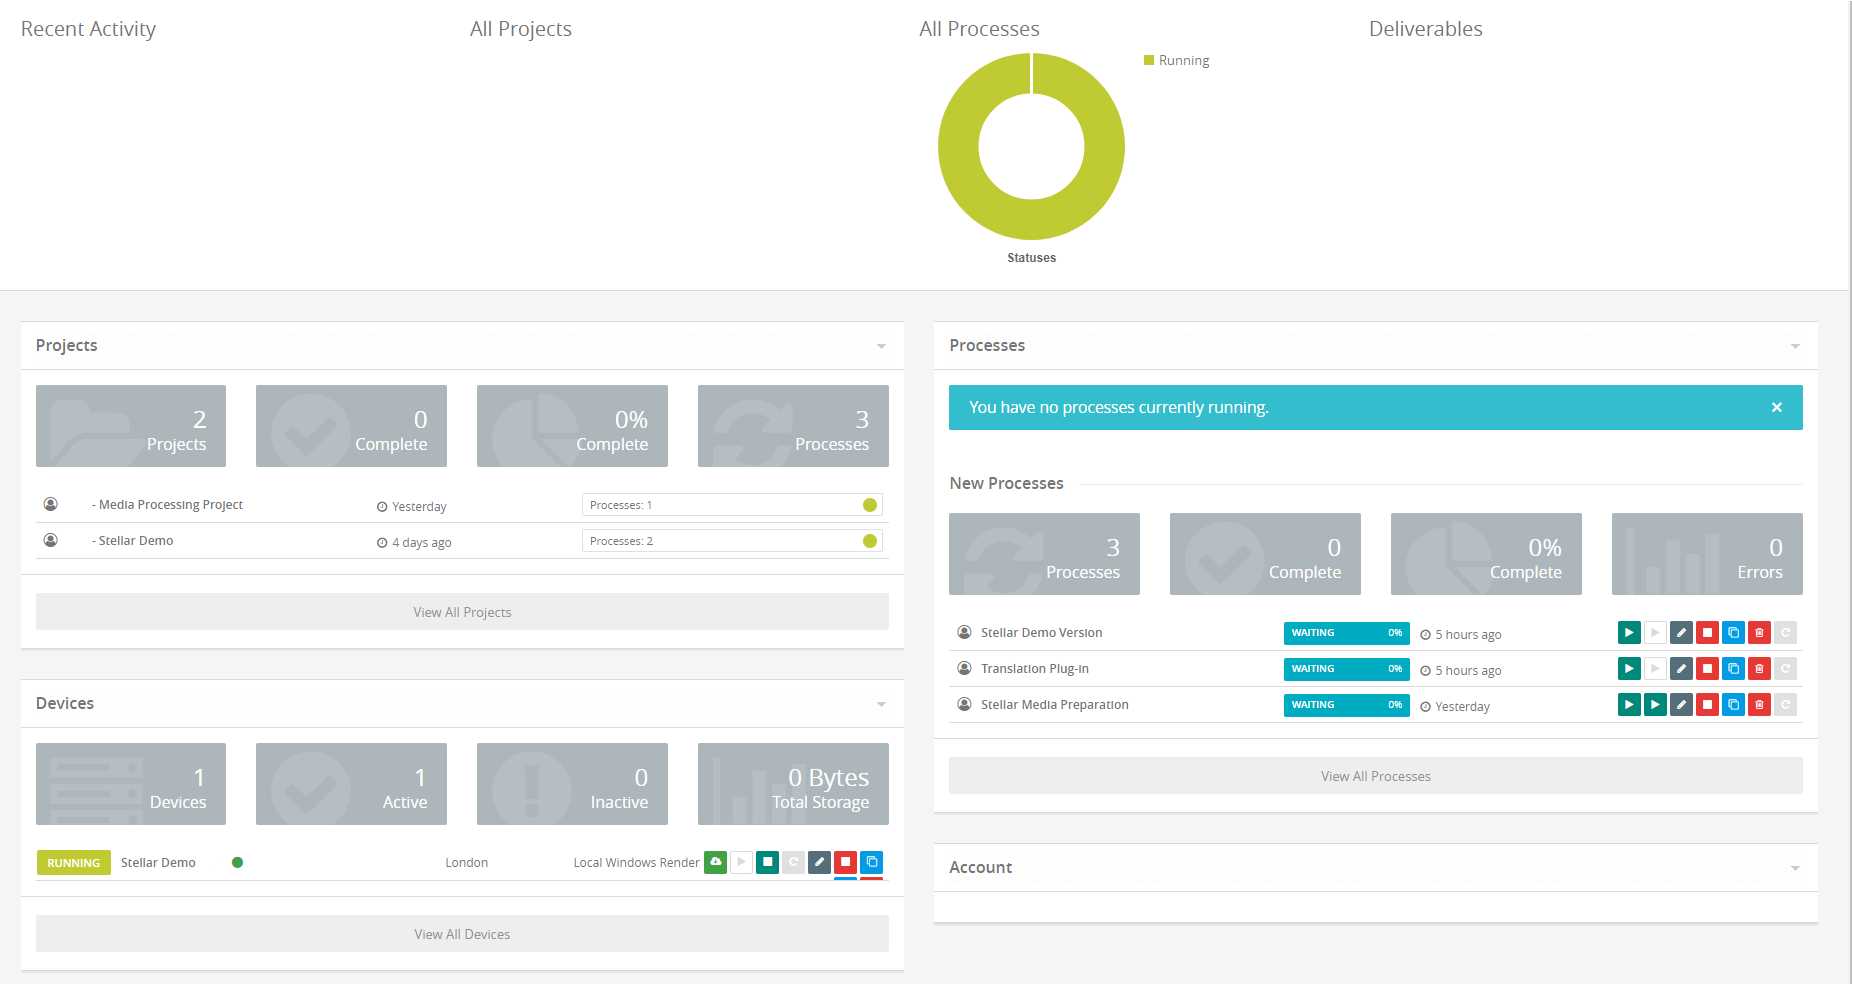
Each section can be open or closed and sections can be re-positioned.
Accounts
Edit Account
This dialogue allows editing of account information, including account contacts, billing address, and VAT details.
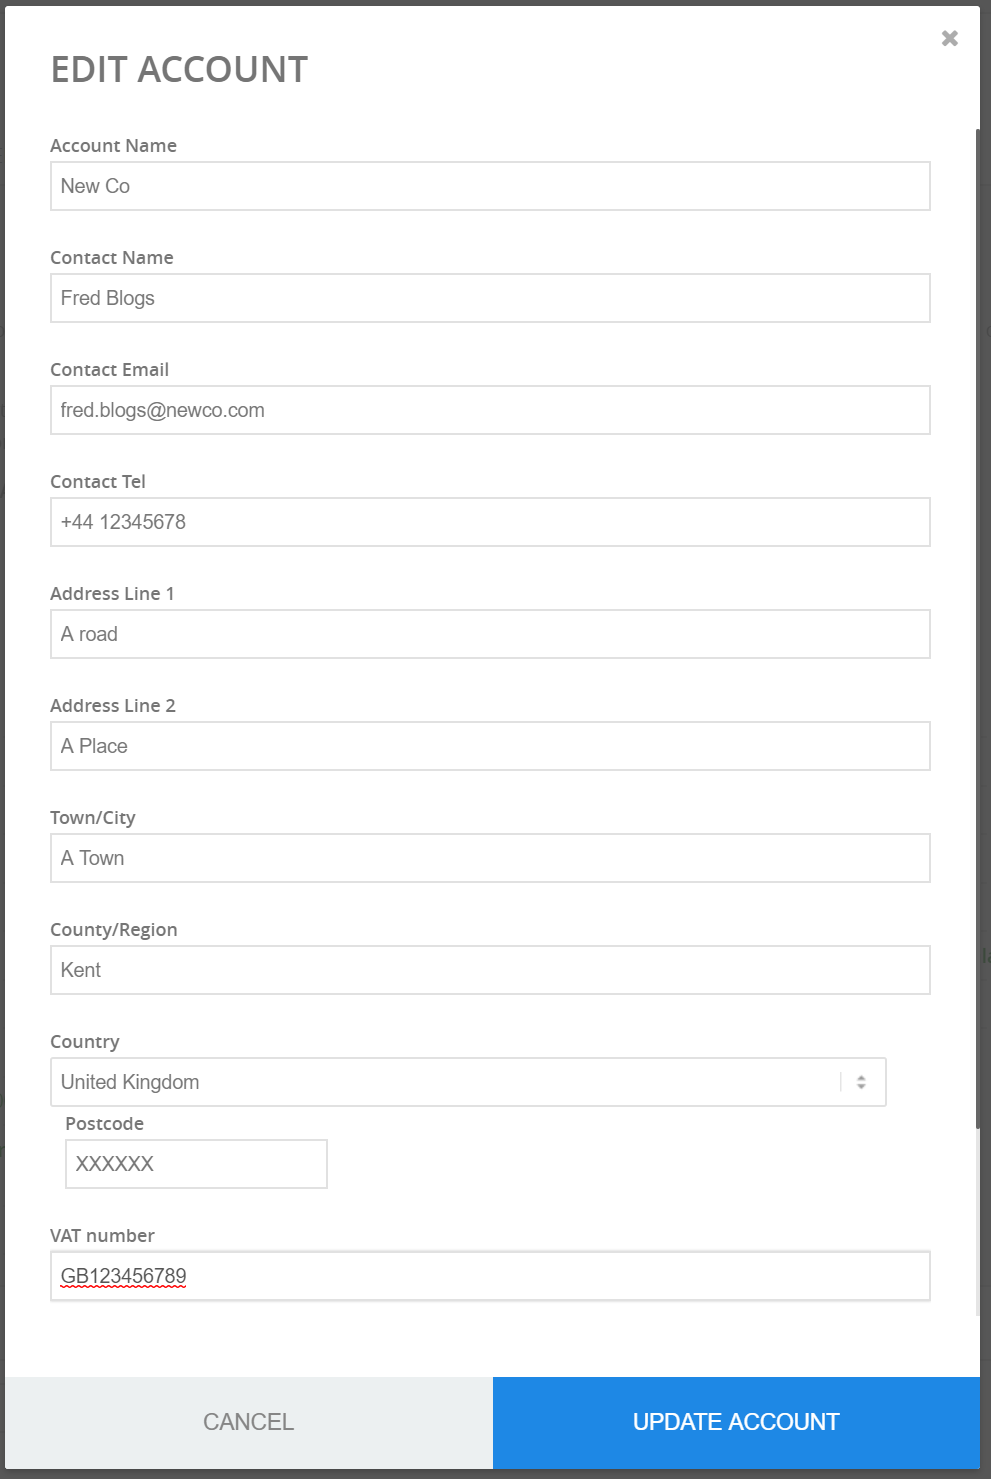
Vat Number:
For an EU VAT number, this should be the part of the number AFTER the country code. e.g. Yella BVBA’s Belgium VAT number is BE 0660792011 – and so Yella’s own Nebula Account is setup with Country as Belgium, and VAT Number as 0660792011.
Currently VAT numbers from outside of the EU cannot be verified, and so can be in the full form to represent the local form of VAT number.
Verify Account
Click on the Verify button
This dialogue shows the results of account verification. Account verification depends on external services (VIES for EU VAT number verification, and an IP geolocation service). If verification fails but you believe your information to be correct, then it is possible one of these services is down, so re-try in a few minutes. If your Account fails to verify, double check the Account information (see Edit Account above), and if you can find nothing wrong, you can request a Manual Verification. This will send an email to support@yellaumbrella.tv, and we will endeavour to check the Account and manually verify the fields within a working day.
Account Status
This area shows information about the account status.
Because of EU VAT rules, we have the following constraints:
In order to run a Process, you must either:
- Be in a country outside of the EU, and your Browser IP and declared Country (in the Account setup) must match at the time of Account Verification. You will not be charged VAT.
- Be in an EU country, and enter a valid EU VAT number, and your Browser IP and declared Country (in the Account setup) must match at the time of Account Verification. You will not be charged VAT.
- Be in an EU country, have the VAT number field empty, and your Browser IP and declared Country (in the Account setup) must match at the time of Account Verification. You will be charged VAT at your local rate at the time a Process runs.
If one of the above is not satisfied, then running a processes will result in an error. To correct this, edit your Account information, correct the Address and (if relevant) VAT fields, and then re-verify the account.
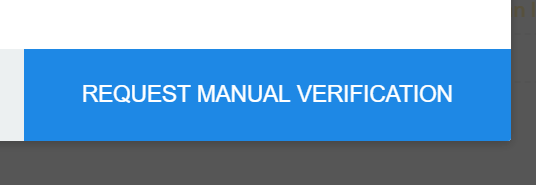
If you can’t get the account to Verify click on the Request Manual Verification button and this will send an email to our Support team who will help verify your account.
Account History
On the Accounts tab of My Account page you will see a monthly account history. Each line represents a month of debits and credits to your account with a running balance.

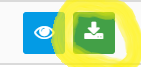
You can view a month on screen by expanding that row or download the details as a CSV file by using the download button on that row:
Cost Codes
Optionally Cost Codes can be added to a Project to allow cost tracking in your accounting system. When a cost is incurred by a Process inside a Project any Cost Codes defined for the Project (up to two codes) will be recorded in the account section. You can then download the full cost records from the Accounts tab and these will contain the Cost Codes. This will allow you to assign Nebula costs to specific cost codes in your accounting system to track different cost groups.
To use Cost Codes you need to do two things:
- Define one or more Cost Codes in the Cost Codes tab on the My Account page
- Assign one or two cost codes to a Project.
Defining Cost Codes

Select the Cost Codes Tab in the My Account page

Click on the New Cost Codes button
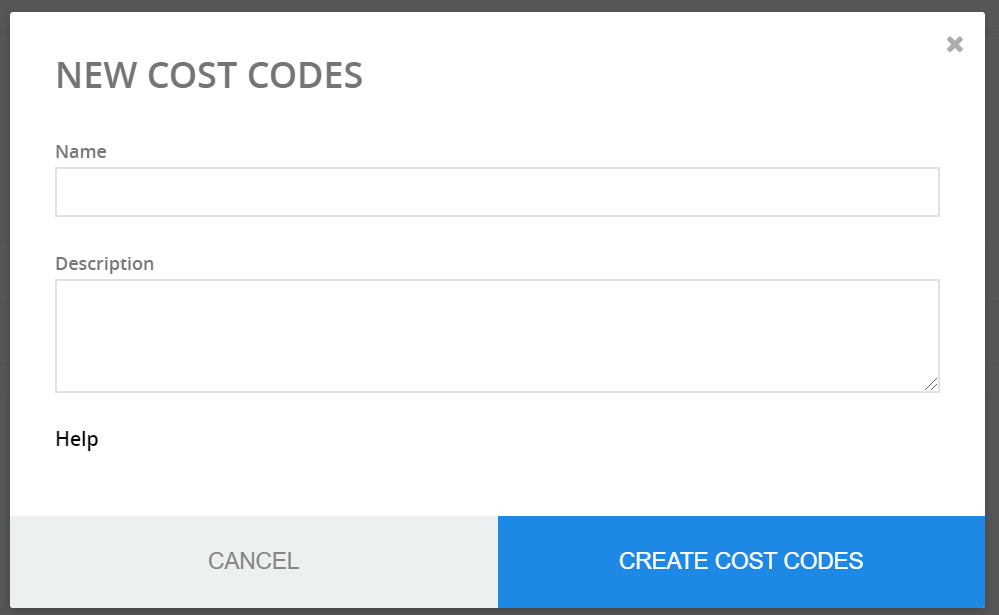
Enter the cost code name and any description
- Name – this is the same string used in your accounts system to categorise costs.
- Description – this is an optional field to help understand the cost code.
Click on Create Cost Codes to save
The new Cost Code will now be listed on the Cost Codes tab.
Assigning Cost Codes to Projects
Select the Project to assign Cost Codes to and click on Edit Project.
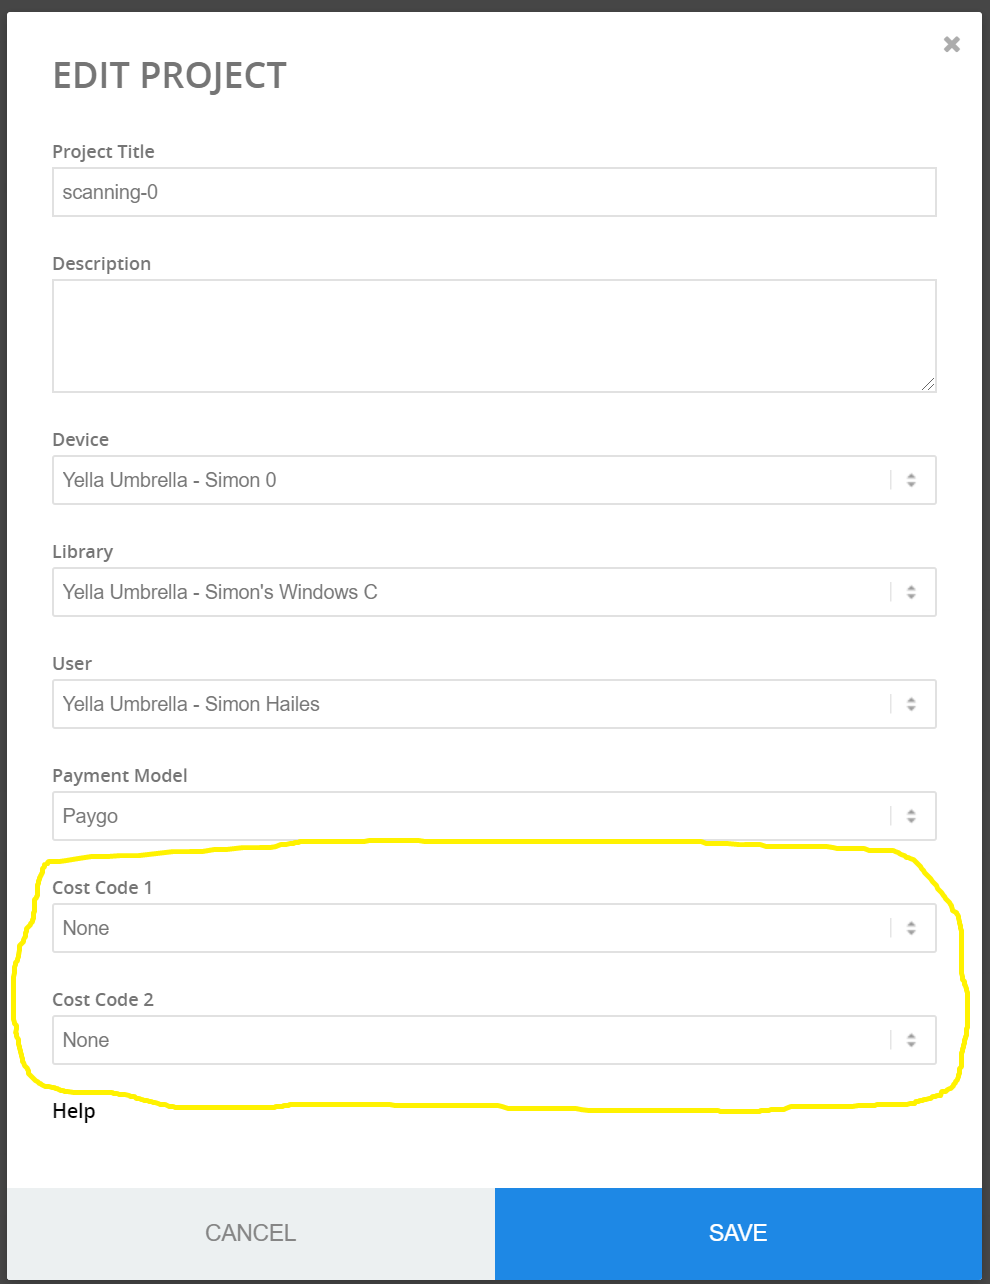
Select from the dropdown of available Cost Codes to assign one or two codes to the Project.
Click on Save.
Payment Models
Processes can charge in different ways, e.g. per file, per 30 minutes of material, a day’s usage etc. Ensure you are aware of the costs of the specific processes that you run, these are shown on the New Processes section of Nebula.
Paygo Payment method
With the PayGo payment method, your Nebula account must be pre-loaded with sufficient funds to cover running each Process. If a Process is run, and insufficient funds are present, it will produce an error; hovering over the ‘i’ icon on the error will reveal more information.
Paygo funds can be purchased via the Nebula Shop using a credit card. Processes which are not Paygo compatible will not run within a Project setup for Paygo payment.
Funds can be purchased via the Nebula Shop using credit card, or customer can request to be billed monthly.
Monthly Tier 1 Payment method
With the Monthly Tier 1 payment method, you pre-buy in bulk to obtain a discount on Process operations. The first activation of a Process makes a charge against your account. You may use up to the specified number of activations in the next month. If you go over the specified number of activations, then the Process will charge a second charge for another quantity of activations.
Funds can be purchased via the Nebula Shop using credit card, or customer can request to be billed monthly.
Monthly Tier 2 Payment method
With the Monthly Tier 2 payment method, you pre-buy in bulk to obtain a discount on Process operations, and to get priority support should the worst happen. The first activation of a Process makes a charge against your account. You may use up to the specified number of activations in the next month. If you go over the specified number of activations, then the Process will charge a second charge for another quantity of activations.
Funds can be purchased via the Nebula Shop using credit card, or customer can request to be billed monthly.
Using the Shop
The Shop icon is only visible to individual users. If you are a member of a Company with an invoice account you won’t see the Shop option.
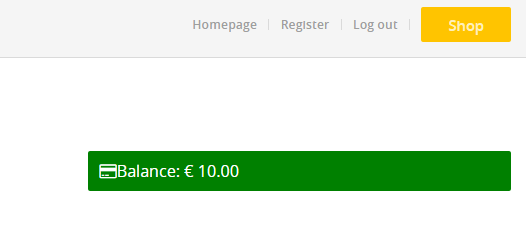
To see the shop, and information about your account, select the My Account option on the left side menu.
Here you will see your account balance, the Shop button, and by selecting the Accounts tab you will see other information about your account.
Click on the Shop button to see the shop options.
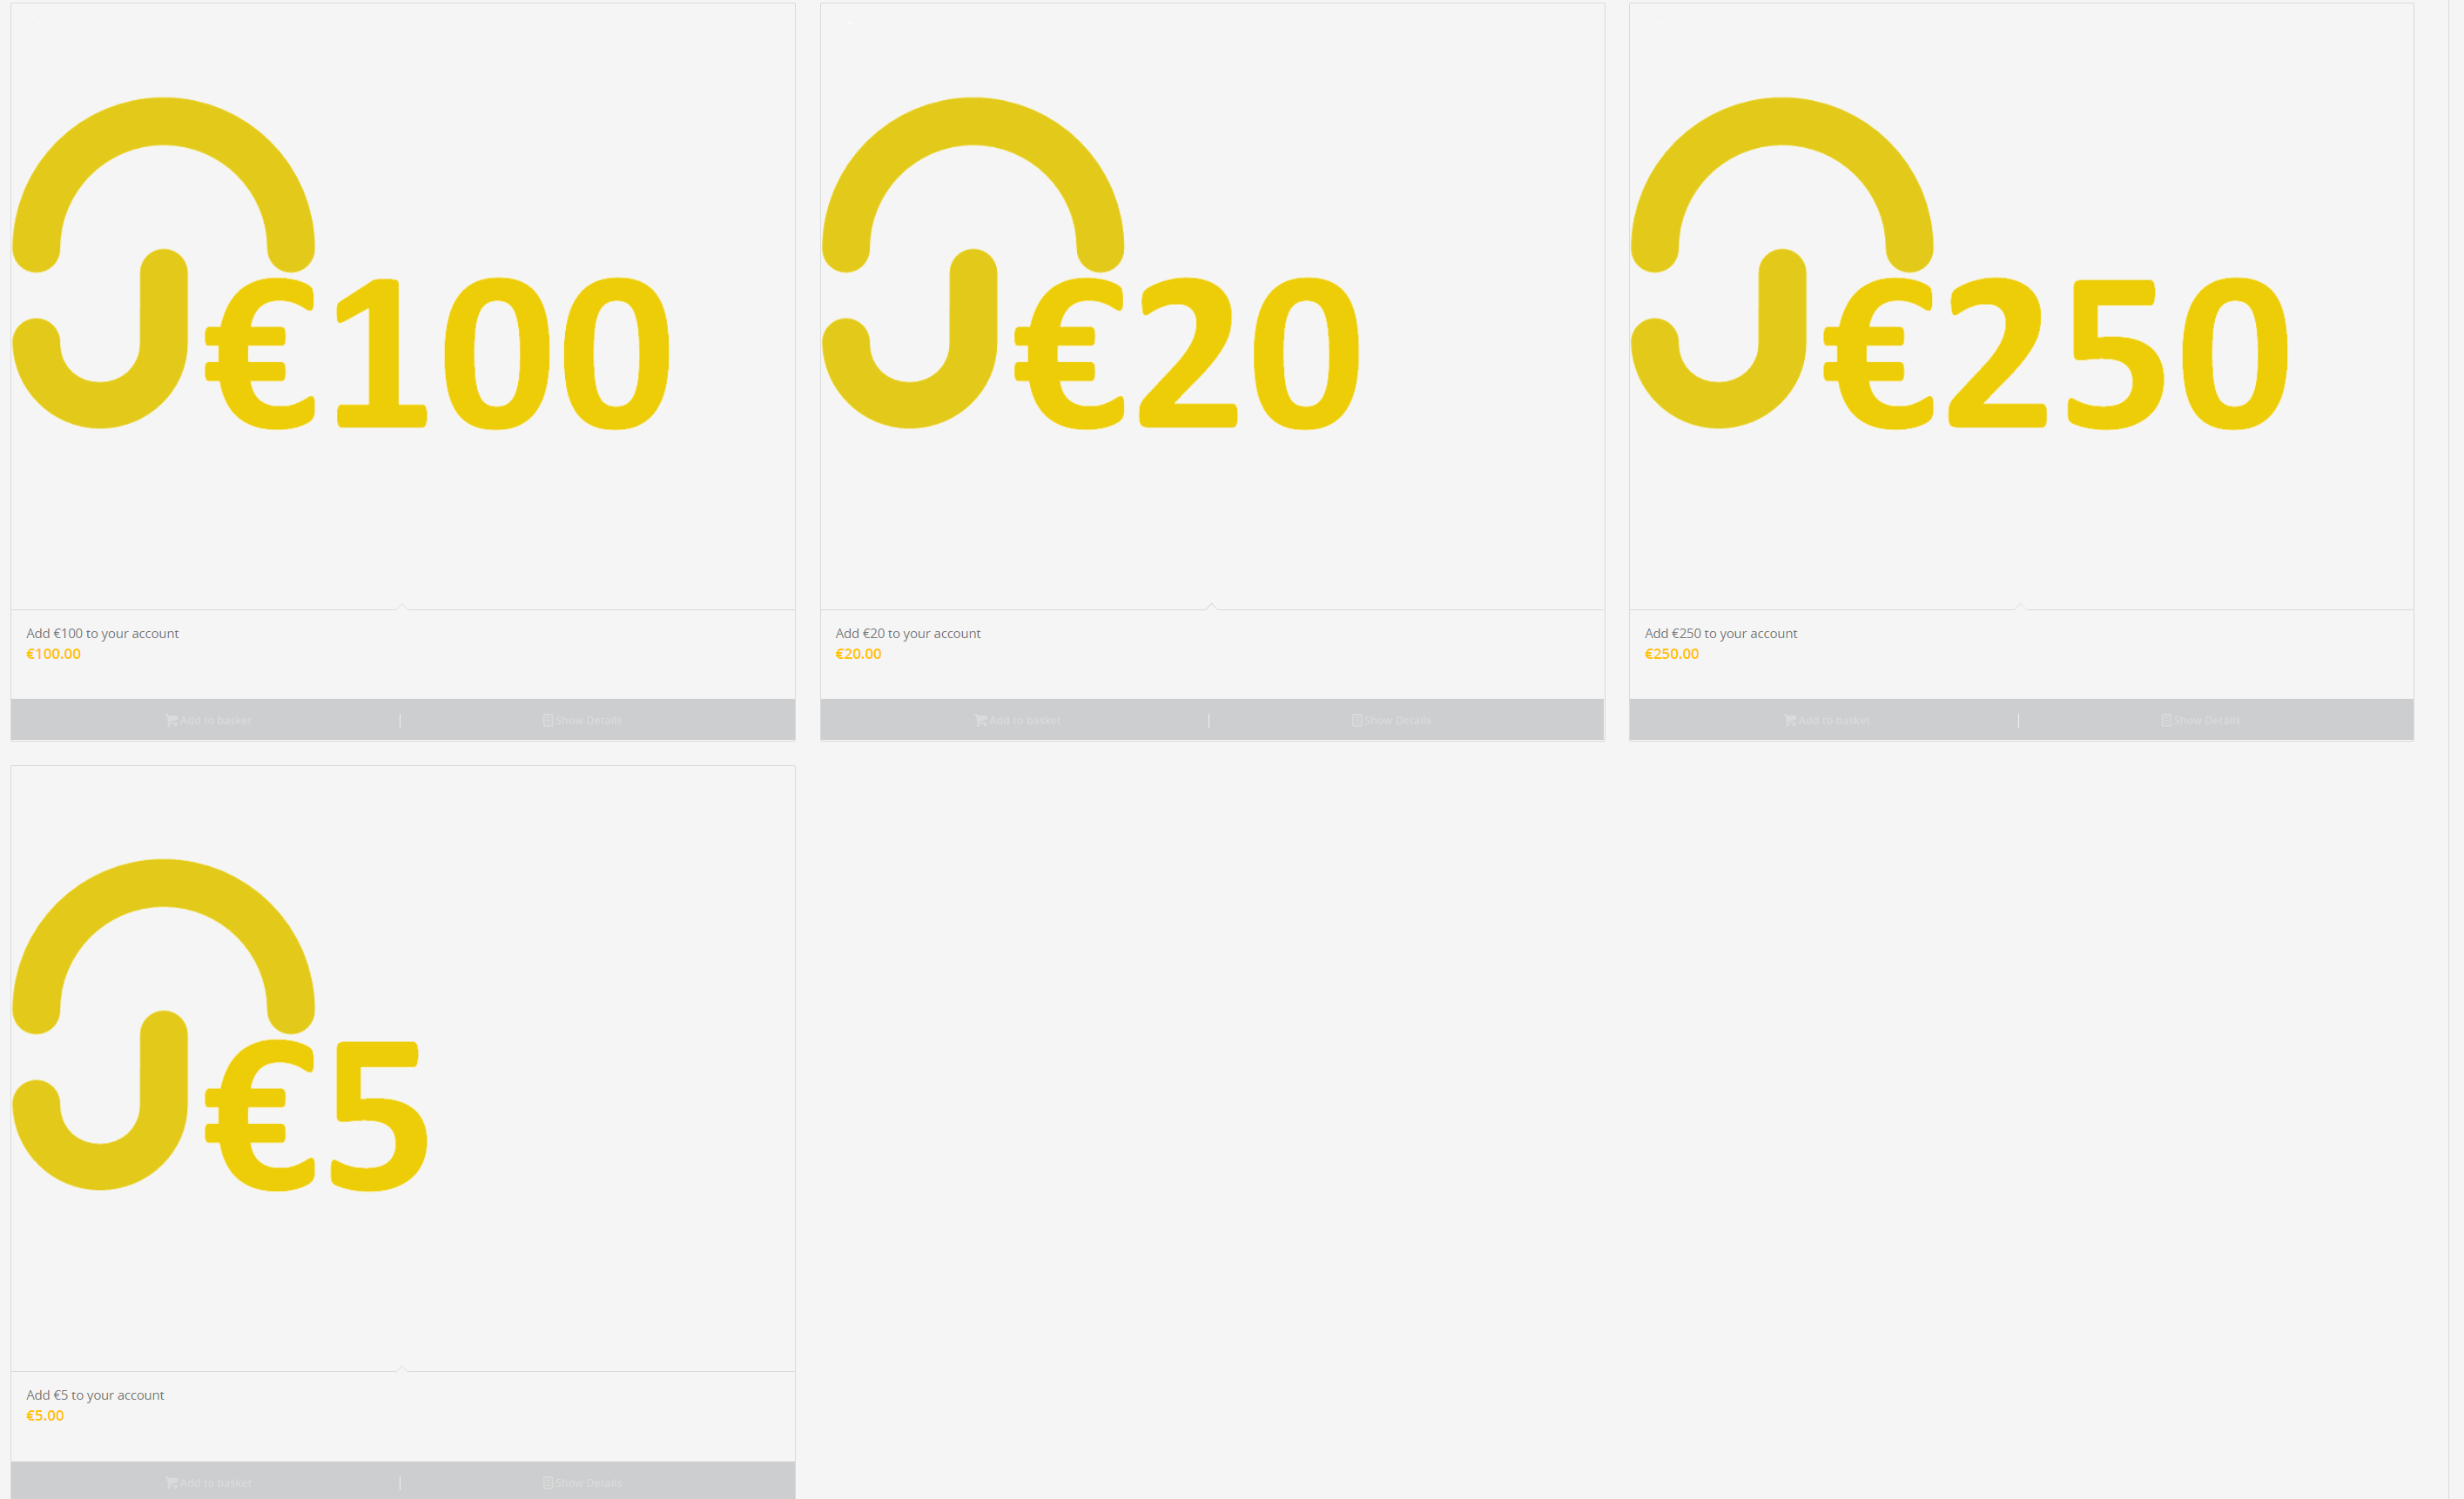
Add any combination of the value vouchers to the basket.
E.G.
- For €25 add one €20 and one €5 vouchers
- For €30 add one €20 and two €5 vouchers
Once the basket contains at least one item the basket icon will appear on the top line at the right hand end.
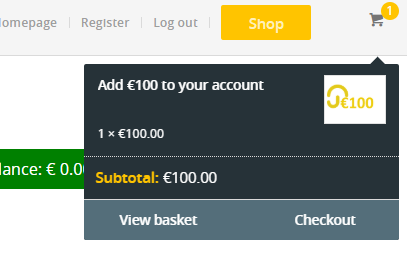
Hovering the mouse pointer over the basket will show the contents and then click on View Bsaket or Checkout to proceed and pay in the normal way.
Orders
You can see the status of current and past orders on the Orders tab.