![]()
by

Help Page – Stellar Getting Started
Before you can run the Stellar you need:
-
- downloaded a Nebula Device onto your PC or Mac
- This will have been created as part of the setup,
- If you have had an email with a download link then use that
- Otherwise just follow the instructions to download and run it from Nebula.
- Run Stellar on your PC or Mac
- System Requirement
- Windows 7, 10 or 11
- Mac OS El Capitan or above
- Chrome Browser
- a login to Nebula
- Chrome Browser
- Optionally a login to Nebula – you don’t need to do this to get started
-
- You will have received this via email.
- downloaded a Nebula Device onto your PC or Mac
- Download the demo file set so you have some media and files to start working with
- You must use Chrome browser for both Nebula and Stellar
- Find out how to set Chrome as your default browser here
1. Download Your Device
2. Windows
3. Mac
3. Downloading the Demo Files
4. Loading a Project
5. Using Stellar
1. Downloading your Device
Either:
-
Click on the Device Download link you received in your welcome email. This is the normal method.
Or:
- Log in to Nebula with the credentials you will have received in an email here: nebula.yella.tv
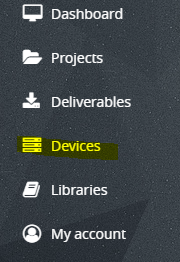
- On the menu on the left hand side, select ‘Devices’:
- A Device will have been created for you, you just need to download it by clicking on the ‘Cloud’ icon. If in a company environment, make sure the device is unique to you, it’s probably got your name in the title.

- This will download a simple executable (not this exact file name but something similar):

2. Windows or Mac?
Select the appropriate section for the next stage of the setup and then go on to section 3.
This is the only section that is different for Windows and Mac, everything else about Stellar is the same on both operating systems.
Starting a Device on your Windows PC
The Nebula Device will run on Windows 7 & 10 64 bit (32 bit Not Supported).
Once the download has finished open (run) the file.
Do this either from the download line in the browser or locate it in the Windows Downloads folder and double click to run it.
As the Nebula device opens a port so that you can read status from it locally, windows may challenge you:
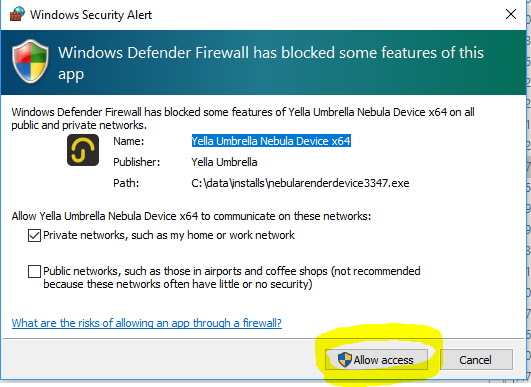
To run your Nebula Device:
Normally Stellar will start up within a minute of the Device starting.
If it doesn’t, or you have disabled the Auto Run feature then:
EITHER:
- Double Click on the Stellar Shortcut on your Desktop
OR
- Once the Nebula Device is running it will appear as an icon in the taskbar icons area.
- To find it, click on the ‘more icons’ button:

- and then on the YellaUmbrella logo:

- When you click on the umbrella icon a web page will open to show the Control Panel for that Device:
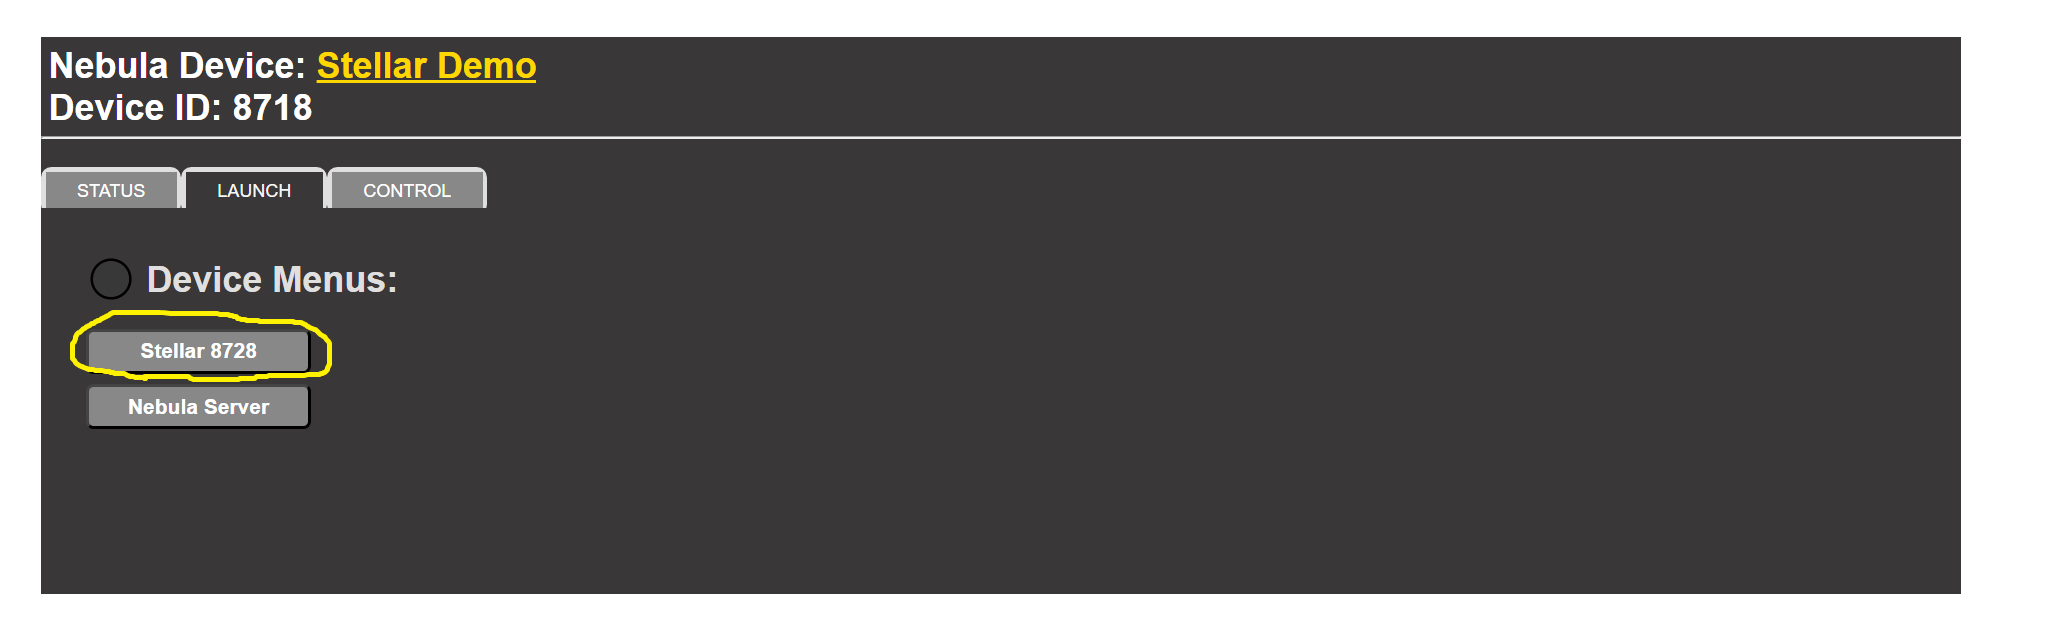
- By default the Launch tab is selected showing options available on this Device.
- Click on Stellar XXXX to launch Stellar (every copy of Stellar has a different number)
- Whenever you want to run Stellar, the Nebula Device must be running. You may leave it running all the time if you want to.
Important: Stellar only runs in a Chrome browser, if you have any other type of browser as you default, Microsoft IE for example, then you must copy the URL from the address bar and paste it into the address bar in a copy of Chrome.
To find out how to set Chrome as your default browser see here
Starting a Device on your Mac
The Nebula Device will run on Mac OS 10.11 El Capitan or later.
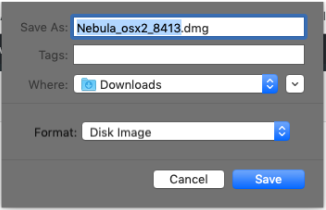
Download the device, or use the link provided in the email. This will download a .dmg file to your MAC:
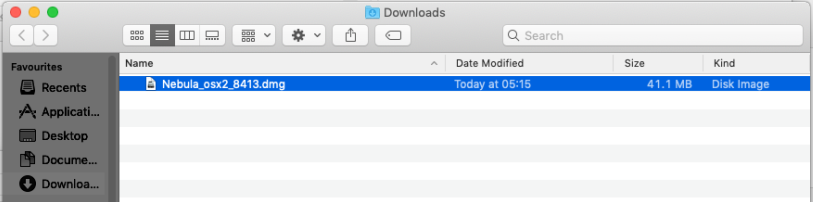
When downloaded, find the file:
And double click on it:
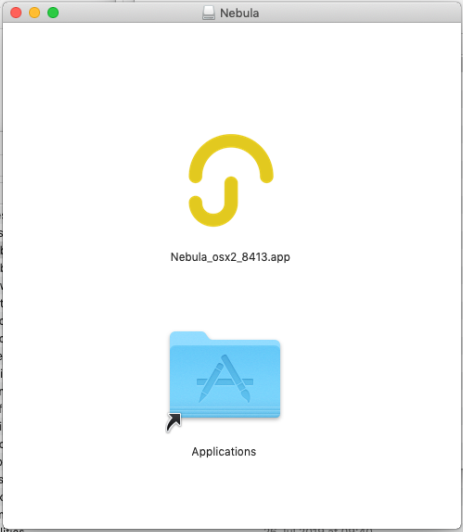
Then drag the Yella Umbrella icon onto the Application icon:
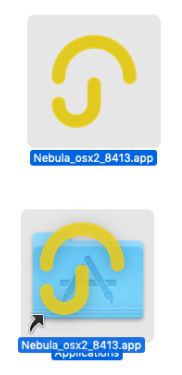
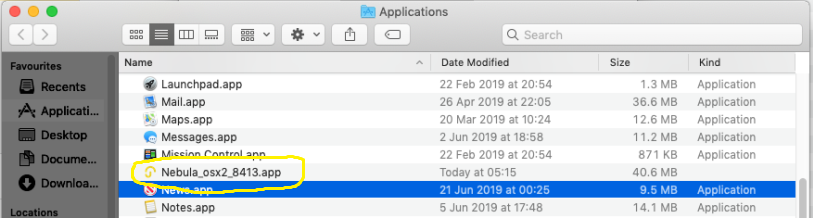
This will ‘Install’ the Nebula device in Applications:
You may then eject the mounted .dmg from any normal finder window:
![]()
Note:
If you are using the latest version of Mac Os the way a DMG is treated has changed.
After double clicking on it the OS will mount the new volume automatically but doesn’t show you.
You should then see a volume called Nebular, visible in the finder sidebar.
Click on this to start the Device.
To run your Nebula Device:
Go to applications and double click the Nebula Device application, or right click and choose ‘Open’.
The first time you open the application, you will see the normal Apple warning dialogue:
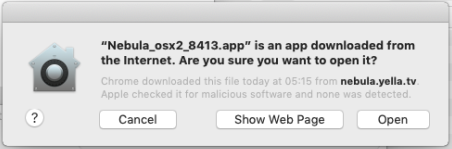
The application is Notified by Apple. Click Open.
Note: For some reason, the first time it is opened, it closes immediately. Just re-open with double click, and the App will then open and be present in the Dock.
Once open, the Nebula Device will appear in the Dock as an Umbrella icon, with a red dot if running,
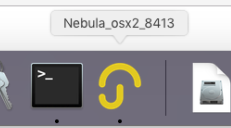
and add some text to the status area at the top right of the screen:
![]()
Clicking on ‘Status’ will open the Device’s web page for status and control of the Device:

To launch Stellar, click on the Stellar Button.
If it launches in Safari, then you will need to make sure Google Chrome is installed, and make Chrome your default browser. (to install Chrome see: Here).
Exiting the Nebula Device:
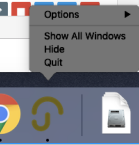
When you are finished with Nebula, you can close the application either:
by right clicking on the Dock icon and selecting Quit:
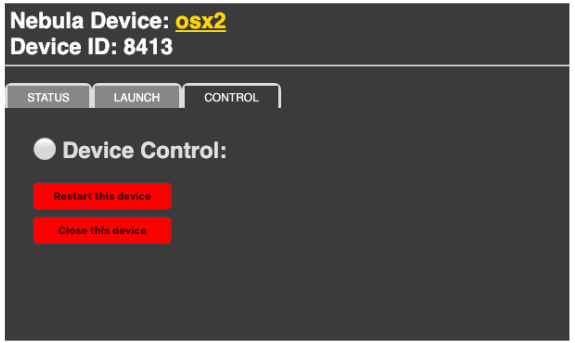
Or by clicking on ‘Status’ to get to the control webpage, and then going to the ‘CONTROL’ tab and clicking on ‘Close this Device’:
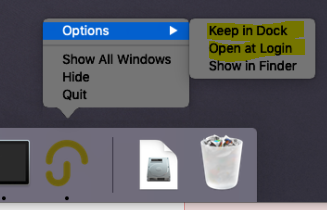
Note: that if you use Nebula/Stellar regularly, you may find it convenient to select ‘Keep in Dock’ and ‘Open at Login’ in the dock menu:
3. Download the Demo media files.
We have created a set of media files for the demos, you need to select a set and download them to your PC.
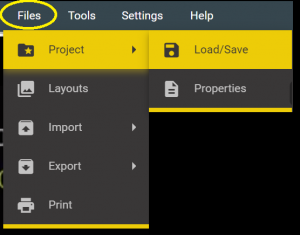
Use the Files menu and select the Project and then Load/Save.
Then select the Demo Files option
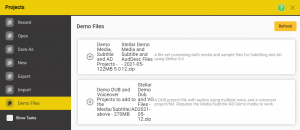
A list of available demo file sets will be open.

Click on the file set you want and a Download & Unzip button will be shown.
Click on the button to download the file. Once the download is complete the Button will change to Unzip, click on this again to unzip the files.
The files will be placed in the default location C:\Stellar – please do not move them.
If at any point you want to return the demo files to their default state you can come back to this menu and re-unzip them.
4. Open a Project
A Project is the collection of files and configurations you need to do a task. This can include a whole range of file types depending on the type of Project but would normally include a media file and one or more text files or empty templates. Optionally it may include shot changes, waveforms, additional audio tracks and other metadata.
Use the Files menu item on the top menu to select Project and the Load/Save:
The Open tab will be selected by default.
All demo projects are in a sub folder called Demo, click on the folder to open it.
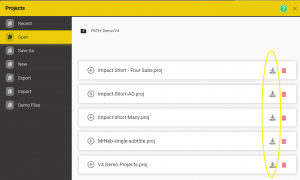
Select the Project you want to open and Click on the green Load button next to the selected Project.
A message box will pop up to while the Project loads, if there are a large number of files in the Project this may take a few seconds.
The Project is now loaded.
5. Using Stellar
You’re now ready to start using Stellar. There is a full set of help instruction available, just press F1 or click on the Help item on the top menu.
Or have a look here: